Taskwarrior, Taskwarrior-server and Mirakel - syncing and carrying your taskslist with you
I'd documented using task warrior to manage your tasks recently. I'd only just mentioned task server in that post. I hadn't had the time to set it up. The effect of this was that all my tasks were only on my laptop and couldn't I access them when I wasn't at it. The simple solution was to use an android client that would sync with taskwarrior - like Mirakel. In this post, I document setting up the task server and then Mirakel. The previous post already documents how one needs to setup and use task. You can use vit which is an excellent front end to task. It's available in the Fedora repositories for Fedora 20+:
sudo yum install vit
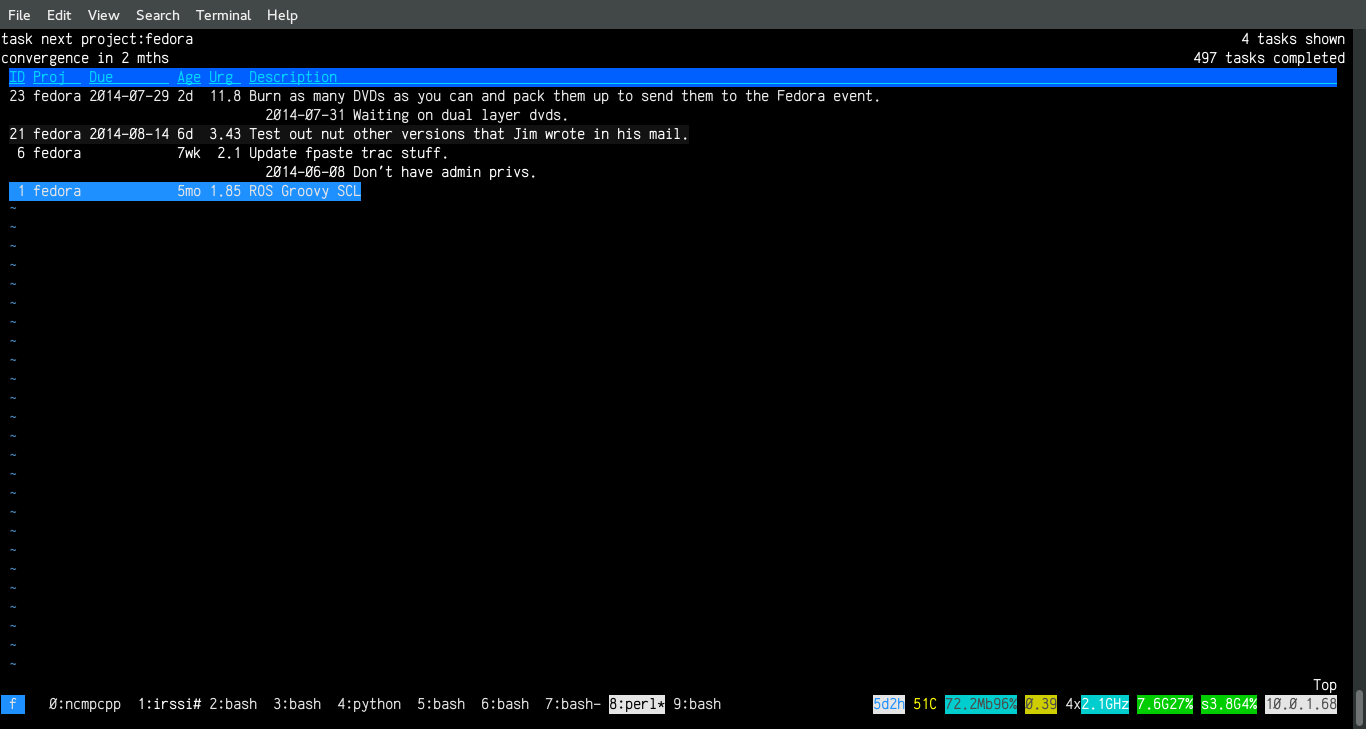
A vit screenshot.
Task warrior server
There's already a review request put up for this. Threebean's working on it. It should be available in the Fedora repositories shortly. There's a copr repo here, but it doesn't look in sync with the review at the moment. I've run a scratch build and put up the rpms here. You can just grab them and install them locally for the time being. Once you've installed the package, the instructions to set up the server are quite straightforward:
Generate your keys
$ sudo -u taskd #or su - taskd -> as taskd user
$ cd /etc/pki/taskd #this is where the scripts are placed
$ ./generate #this will generate a couple of new files
$ ls -l /etc/pki/taskd/
total 60 -rw-------. 1 taskd taskd 1476 Jul 31 12:00
ankur_sinha.cert.pem -rw-------. 1 taskd taskd 6799 Jul 31 12:00
ankur_sinha.key.pem -rw-------. 1 taskd taskd 1489 Jul 31 11:57
ca.cert.pem -rw-------. 1 taskd taskd 6789 Jul 31 11:57
ca.key.pem -rwxr-xr-x. 1 root  root   666 Jan 16  2014
generate -rwxr-xr-x. 1 root  root   647 Jan 16  2014
generate.ca -rwxr-xr-x. 1 root  root   787 Jan 16  2014
generate.client -rwxr-xr-x. 1 root  root   878 Jan 16  2014
generate.crl -rwxr-xr-x. 1 root  root   792 Jan 16  2014
generate.server -rw-------. 1 taskd taskd 1521 Jul 31 11:57
server.cert.pem -rw-------. 1 taskd taskd  808 Jul 31 11:57
server.crl.pem -rw-------. 1 taskd taskd 6796 Jul 31 11:57
server.key.pem
[asinha@ankur-laptop  ~]$
When you run the generate script, it'll generate a client.cert.pem and client.key.pm. I've renamed them to match the user that I'll create in the next section.
$ mv client.cert.pem ankur_sinha.cert.pem $ mv client.key.pem ankur_sinha.key.pem
Set up a user
Choose your username and organization. For example, I picked "Ankur Sinha" as my username and "Personal" as the organization.
taskd add org ORGNAME --data /var/lib/taskd taskd add user ORGNAME USERNAME --data /var/lib/taskd
This will generate a unique key for your user. Please note it down. It is required when you setup your client to sync with the task server. You can have multiple users set up. Each will be given a unique key.
Start taskd
It should be as simple as:
sudo systemctl start taskd.service
If this doesn't work, for some reason, try this:
sudo taskd server --data /var/lib/taskd --daemon
Set up your client
You need to copy the client keys to your client's configuration directory. For example, if you're using the client and server on the same machine, you need to copy the client certs to ~/.task. In my case, to set up the task client I did:
$ sudo -i $ cd /etc/pki/taskd
$ cp ankur_sinha*pem ~asinha/.task #client keys
$ cp ca.cert.pem ~asinha/.task #signing certificate
$ chown asinha:asinha ~/asinha/.task/*.pem #make sure the permissions are limited to your user only
Configuring task
You need to configure your client to use the credentials that you created, and to point it to your server. You can either modify ~/.taskrc by hand, or use the task config command - they both do the same thing. To edit it by hand, I did:
taskd.server=localhost:6544 taskd.credentials=Personal/Ankur Sinha/my-long-key

taskd.certificate=/home/asinha/.task/ankur\_sinha.cert.pem
taskd.key=/home/asinha/.task/ankur\_sinha.key.pem
taskd.ca=/home/asinha/.task/ca.cert.pem
taskd.trust=yes
If I'd used the task config command, it'd be this:
$ task config taskd.certificate ~/.task/ankur_sinha.cert.pem
$ task config taskd.key         ~/.task/ankur_sinha.key.pem
$ task config taskd.ca          ~/.task/ca.cert.pem
$ task config taskd.server      localhost:6544 #on Fedora, we use 6544 for taskd
$ task config taskd.credentials 'Personal/Ankur Sinha/my-long-key'
Sync up!
That's all the setup you need. Now, you run your first sync:
$ task sync init
In the future, you just need to run:
$ task sync
All of this is well documented at the taskwarrior website here: http://taskwarrior.org/docs/server_setup.html
Setting up Mirakel
Mirakel is quite easy to setup too. You can use the same credentials for the user you created to get Mirakel to sync with your task server. There's one main difference - instead of placing your certificate files in a folder, you need to quote the keys in the file itself. For example, my Mirakel configuration file looks like this:
username: Ankur Sinha org: Personal user key: my-long-key server : your-servers-hostname:6544

Client.cert:
-----BEGIN CERTIFICATE-----
# PLACE contents of ~/.task/ankur\_sinha.cert.pem here
-----END CERTIFICATE-----

Client.key:
-----BEGIN RSA PRIVATE KEY-----
# PLACE KEY FROM ~/.task/ankur\_sinha.key.pem here
-----END RSA PRIVATE KEY-----

ca.cert:
-----BEGIN CERTIFICATE-----
# PLACE CONTENTS OF ~/.task/ca.cert.pem here
-----END CERTIFICATE-----
Once your configuration file is ready, place it on your android device and add a new Mirakel user using this file:
Menu > Settings > Sync > Add (button on top right) > Taskwarrior > Select config file.

Mirakel screenshot
It'll add a new user. You can then play around with the settings and set up your sync frequency etc. These steps are quite clearly documented here: http://mirakel.azapps.de/taskwarrior.html. However, they're not tailored to use the Fedora rpms, which is why I thought it'd be good to write up fresh instructions.
Now, you have Mirakel up and running:
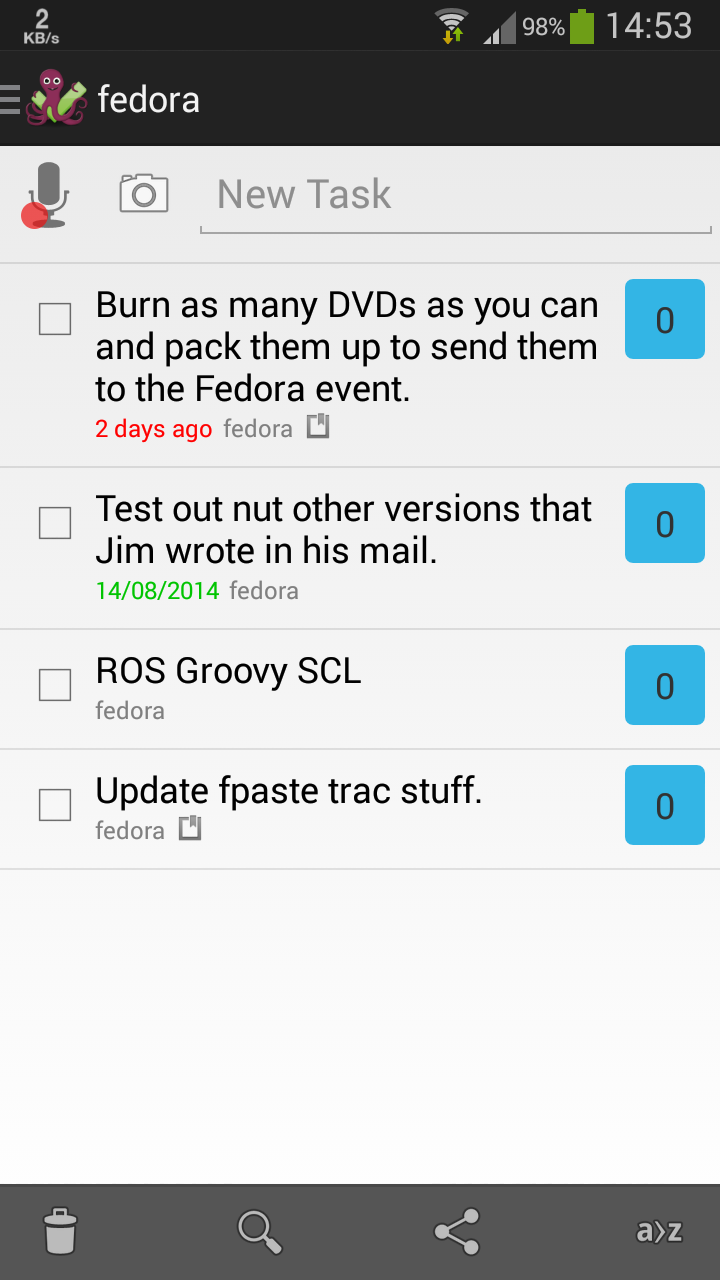
Mirakel screenshot 2
A couple of things to keep in mind
- Your credentials need to be correct
- Your server should be reachable. This implies that the network should be functional, and the port should be open in the firewall. Please note that you may have to specify the zone if you're using firewalld.
- Check /var/lib/taskd/config to see if Mirakel has permissions to sync. It isn't in the access list by default.
- The sync is two way. You can add tasks on your phone and they'll be listed in task on your laptop after you sync them all up.
If you run into trouble, check /var/log/taskd.log to start with. It logs accesses, syncs and errors too.
EDIT: Updated generation portion.
Comments